The cabinet looked tired, the way an old dog does after a long winter—still loyal, still standing, but dulled around the edges. Its walnut doors had once glowed like wet earth after rain. Now they were cloudy, smudged with fingerprints, dulled by sunlight and years of quick wipe-downs with whatever spray was within reach. It was the kind of piece you walk past a hundred times and only really see on the hundred and first, when a particular angle of light catches on the scratches and water rings and you suddenly think: You deserved better than this.
The Day the Cloth Became the Main Character
The first time I watched a restoration expert work, I expected the drama of power tools—sanders, buffers, the roar of something serious. Instead, what he reached for looked laughably humble: a frayed microfiber cloth and a cloudy glass jar that could have passed for old lemonade.
The workshop smelled like sawdust, linseed, and the faint metallic tang of old nails. Morning light pushed in through high windows, tracing rays through the dust in the air. In the center of the room sat an oak dresser that had seen too many apartments, too many moves, and a few too many potted plants sweating cold water rings into its top.
“Most people think you have to strip everything,” he said, swirling the jar in his hand. “But wood remembers. You just have to wake it up without scaring it.”
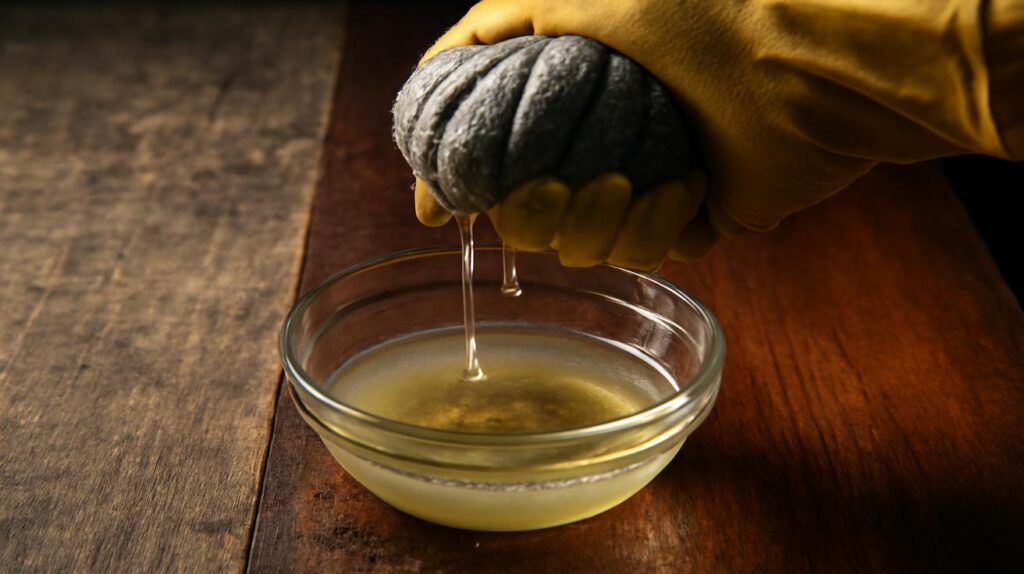
I watched him dip the cloth into the mixture—slowly, almost ceremonially. The fabric darkened and glistened, soft as river moss. He wrung it out until it was damp, not dripping, the way you’d squeeze out a sponge before wiping a beloved book cover.
The first pass across the dresser was almost nothing—a gentle glide, as if he were petting the surface rather than cleaning it. Then, slowly, the magic started to happen. The dull gray film softened, streaks of old polish blurred, and beneath it all, the wood’s grain began to emerge like something resurfacing from a long sleep.
“Everyone wants a miracle product,” he said quietly, eyes on the slowly changing surface. “But this is the closest thing I know—and you can mix it in your kitchen in about a minute.”
The Simple Homemade Solution Restoration Experts Swear By
If you ask five different restoration experts for their favorite formula, you’ll probably get five slightly different recipes. But they tend to orbit the same simple universe: gentle cleaning, light conditioning, and a respect for the original finish. The solution in that cloudy jar? It wasn’t a mystery brand from some obscure catalog. It was a trio of ordinary ingredients, balanced just so.
Here’s what many pros quietly rely on for reviving tired wood finishes:
- A mild, pH-neutral soap
- Vinegar (for gentle cutting of grime and old residue)
- A small measure of oil—often olive oil or mineral oil
The exact ratios vary, but the idea doesn’t: clean without stripping, nourish without smothering. The microfiber cloth is the other half of the secret. Its fine fibers grab dust and dirt without scratching, and when dampened with the solution, it becomes something like a spa treatment for old wood—cleansing and moisturizing at the same time.
What surprised me most wasn’t the ingredients; it was how little of the solution he used. No sloshing, no dripping, no soaking the wood. Just a nearly dry-feeling cloth, worked patiently over the surface until dullness gave way to a soft, muted glow.
He caught me staring at the dresser top as the grain sharpened. “You’re not just cleaning,” he said. “You’re revealing. The finish is still there. You’re just removing everything that’s been suffocating it.”
The Sensory Shift: What It Feels Like When Wood Wakes Up
There is a moment—if you do this slowly enough—when the sound under your hand changes. At first, the cloth moves with a faint drag, catching on invisible ridges of residue. Then, as the solution does its quiet work, the resistance eases. The cloth glides. The wood, which moments earlier felt sticky and reluctant, becomes smooth, almost warm to the touch.
The smell changes, too. That slightly sour, tired scent of old polish and dust gives way to something subtler: a faint tang from the vinegar, then a whisper of wood itself. Oak has a different breath than pine, walnut a different murmur than cherry. Under years of neglect, all furniture smells vaguely “old.” Under a gentle cleaning, each species recovers its own voice.
“Listen,” the restorer told me once, placing my fingertips on the side of a cabinet he was working on. “You can feel when you’ve gone far enough. When it feels like clean wood, not stripped wood—that’s where you stop.”
What Makes This Solution So Effective?
Underneath the soft edges of the story, there is simple, practical chemistry at work. The beauty of this homemade mixture is in how balanced it is: strong enough to lift grime, weak enough not to bully the original finish. Each component plays a distinct role, and each needs the others to stay in harmony.
| Component | Role in the Solution | What You Notice |
|---|---|---|
| Mild Soap | Lifts dirt, body oils, kitchen grease, and surface grime without stripping the finish. | Cloudy, sticky areas clear; the surface feels cleaner, less tacky. |
| Vinegar | Gently dissolves old polish build-up and mineral deposits, balances the cleaning action. | Hazy layers fade, subtle reflections come back without harsh shine. |
| Oil | Restores suppleness and depth, helping the wood look nourished rather than dry. | The grain looks richer; small scratches appear softened, less glaring. |
| Microfiber Cloth | Grabs loosened grime and holds it, while minimizing abrasion on delicate finishes. | You wipe once and the dirt is gone, instead of just pushed around. |
The combination is intentionally gentle. It doesn’t pretend to fix gouges or deep water damage. Instead, it focuses on that large, promising in-between space: furniture that isn’t ruined, just dulled; pieces that don’t need sanding and refinishing, just a respectful reset.
Ask any restorer what ruins more furniture than time, and they won’t say sunlight or moving vans. They’ll say impatience—people grabbing harsh cleaners, scrubbing, flooding wood with water, or slathering on layers of silicone-heavy polishes that make surfaces shiny but suffocated. This simple homemade solution is an antidote to all of that: calm, reversible, kind.
The Quiet Ritual of Doing It Yourself
There’s a quiet satisfaction in mixing something yourself at the kitchen counter—a spoonful of this, a drizzle of that—then walking over to a piece of furniture you’ve stopped noticing and deciding it’s worth seeing again. You don’t need a workshop. You don’t need a sander. You don’t need permission.
You spread an old towel on the floor or over the dining table. You pour a little of the solution into a small bowl and dip the microfiber cloth until it’s just damp. The first swipe is always a bit of a leap: will this really do anything? Then the cloth comes away gray when you thought the surface was already “pretty clean.”
The work is slow, but never tedious. You move in small sections, in the direction of the grain, letting the rhythm settle you. There is something almost meditative in the repetition—dip, wring, glide, breathe, step back, marvel, continue. In a world that rewards speed and disposability, this feels almost rebellious.
From Dull to Almost New: What “Restored” Really Looks Like
There’s an important truth that restoration experts hold close: “almost brand-new” doesn’t mean perfect, plasticky, or fake. It doesn’t mean erasing every nick or sanding away every little story the wood has collected. Instead, it means bringing the piece back to the best version of itself—clean, nourished, glowing softly with the kind of sheen that looks like health, not makeup.
When the dresser in the workshop was finished, it didn’t look like it had just left a factory. It looked like it had lived well, and then been loved well. The gloss was gentle, the grain crisp, the wood color just a shade deeper and warmer than before. The long white water ring on the top—which had seemed like a death sentence—had faded to a whisper. The scratches hadn’t vanished, but they’d sunk back into the overall pattern instead of shouting every time light crossed them.
“People always ask if we’ve re-finished pieces like this,” the restorer said, stepping back. “But we haven’t. We’ve just taken off the years that don’t belong to the wood.”
There’s a kind of honesty to that outcome. A table that’s survived decades of dinners should hold a few soft ghosts of those meals. A desk that’s seen exams and tax forms and love letters deserves a patina that reflects all of it. The homemade solution, worked in with a microfiber cloth, doesn’t erase time. It rescues the surface from neglect and lets the true age of the piece show—strong, clear, and unmistakably alive.
Knowing When to Stop
One of the subtler arts of this method is learning when enough is truly enough. The temptation, once you see how dramatically the surface improves, is to keep going, to chase some imagined perfect gloss. But restoration lives in restraint.
The wood will tell you, if you’re paying attention. When the cloth starts to glide without catching, when the surface looks even in color and sheen, when fresh passes don’t lift more visible grime—that’s the moment to set the jar aside. Wipe once more with a clean, dry microfiber cloth, buff gently, and then leave it. Let the solution settle. Let the wood breathe out and carry its new luster in peace.
Stories Hiding in the Grain
The more time you spend with old furniture and a simple cloth, the more you realize these pieces have their own weather systems, their own private histories etched into the grain. A scar along the edge of a cabinet that lines up perfectly with the height of a toddler’s forehead. A cluster of faint rings on one corner of a sideboard where someone once rested their coffee cup during phone calls that ran long. A band of sun-fading along the back of a chair, proof of its favorite place by a window.
When you work slowly with a homemade solution, you notice things you might otherwise miss. The tone of the wood may shift slightly from one panel to the next, revealing where a repair was made decades ago. A faint inscription might emerge under old grime—a penciled date on the underside of a drawer, the ghost of a maker’s mark. The piece ceases to be just “that old thing in the corner” and becomes a character in your home’s story.
Restoration experts talk about this with a mixture of reverence and practicality. Their job is to extend the life of these objects, not to freeze them in time. A well-cleaned, gently revived surface is more than a pretty thing; it’s an invitation for the next chapter to begin. A table restored this way is more likely to be used, touched, wiped down, and set with plates again. A cabinet that glows softly under your fingertips is more likely to be opened and filled, not forgotten.
There’s a sustainability hidden here, too. Each time you choose to revive instead of replace, you sidestep the cycle of fast furniture—the flat-packed, short-lived pieces that enter your home and then quietly exit to a landfill within a few years. With nothing more than a bowl of kitchen ingredients and a microfiber cloth, you shift from consumer to caretaker.
Bringing It Home: Your Turn with the Cloth
If there’s an old wooden piece in your home—something you inherited, rescued from a curb, or simply stopped loving the way you once did—you don’t have to be a professional to begin. You only need the willingness to look closely, to move slowly, and to trust that a humble, homemade solution can do more than a flashy bottle ever promised.
Before you start, test a tiny, hidden patch with your dampened cloth and solution. Watch how the wood responds. If the color holds steady and the finish stays put, keep going. Work in the direction of the grain. Change to a clean part of the cloth as it gathers grime. Let curiosity lead—what if the top of that nightstand isn’t permanently cloudy? What if the sideboard in the hallway is still beautiful under all that dullness?
One piece at a time, you might discover that the most transformative thing in your home this year isn’t something you buy new. It’s something you already own, waiting patiently for a hand, a cloth, and a little homemade alchemy to invite it back into the light.
Frequently Asked Questions
Will this homemade solution work on all types of wooden furniture?
It works best on finished wood—pieces that have a clear coat, varnish, lacquer, shellac, or sealed oil finish. On raw, unfinished wood, it may darken the surface more dramatically. Always test a small, hidden area first to see how the wood and finish respond.
Can I use any kind of vinegar in the mixture?
Restoration experts tend to prefer white distilled vinegar because it’s clear and predictable. Darker vinegars, like apple cider vinegar, can sometimes leave a faint tint, especially on very light woods. If your furniture is pale, stick with clear vinegar.
Will this remove deep scratches or water stains?
It can soften the look of light scratches and help reduce the appearance of some white water rings by cleaning and gently reconditioning the surface. Deep gouges, dark stains, or severe water damage usually require more advanced restoration techniques beyond this simple treatment.
How often can I use this solution on my furniture?
Think of it as an occasional reset rather than a daily cleaner. For most pieces, a thorough treatment once or twice a year is plenty. For regular upkeep, a dry or slightly damp microfiber cloth without solution is usually enough to remove dust and everyday smudges.
Do I need to apply furniture wax or polish after using the solution?
You don’t have to. Many pieces look beautifully revived with just the homemade solution and a final buff with a dry microfiber cloth. If you like a slightly richer sheen or extra protection, you can apply a high-quality paste wax afterward—sparingly and evenly—once the surface is completely dry.