The first time I saw sunlight slide across a glass-ceramic cooktop, I understood why people fall in love with them. The surface looked like still water—dark, reflective, immaculate. Then I cooked on it. Life happened. A skillet dragged a little too hard, a sugar spill caramelized under a pan, a pot with a rough bottom danced on a rolling boil. One day, I wiped the surface as usual and froze. There it was: a pale, thin scar etched into the glass-ceramic, catching the light like a whisper you can’t un-hear. If you’ve ever stared at a scratch on your cooktop and felt your stomach drop, you know the tiny sting of thinking, “I’ve ruined it.” But here’s the quiet, reassuring truth: many of those scratches can be coaxed away. Not with miracles, not with magic—just with patience, the right touch, and four simple steps.
The First Look: Learning to See Your Cooktop Differently
The trouble with glass-ceramic is that it tells the truth. It reflects every speck of dust, every smear, every trace of last night’s dinner. When a scratch appears, it’s not just a flaw; it feels personal, like a mark on something that promised to stay perfect.
So before you grab the harsh scrubber or some heavy-duty chemical, pause. Walk up to the cooktop the way you’d approach a pond at dawn. Look closely. Clean the surface gently with a soft cloth and a bit of warm, soapy water. This isn’t the “real” cleaning yet—this is a clearing of the stage so you can see what you’re dealing with.
Once the surface is dry, shift your angle. Let the light glance across the glass. Some marks you thought were scratches may simply be residue: burnt sugar, hardened sauces, fine grease lines. Others are indeed shallow scratches—superficial disruptions in the glass coating that haven’t dug deep enough to be structural. These are the ones that, with care, you can often fade or remove.
There’s a quiet relief in this first inspection. You realize that not every mark is permanent. Some are just stories your cooktop is holding onto for a little too long. Your job is to help it forget.
Why Glass-Ceramic Scratches Happen
To understand how you can mend them, it helps to know how they appear in the first place. The surface of a glass-ceramic cooktop is tough, but it isn’t invincible. Tiny crystals within the glass give it strength and heat resistance, but the top layer is still susceptible to abrasion.
A single grain of salt under a heavy pot, a pan with a sand-like residue on its base, or that moment your favorite cast iron skillet scrapes just a bit too hard when you shift it across the burner—each small event can leave a delicate trace. Over time, these traces accumulate into fine hairline scratches, like faint trail marks across a field. And then there are the deeper ones: the ones from dragging a rough-bottomed pan or using the wrong tool to scrape off something burned-on.
Luckily, not all scratches are created equal. The shallow ones usually live on the uppermost layer of the glass. These can often be polished and softened, gradually blended back into the surface so that light stops catching on them. The deeper ones, the kind your fingertip can feel distinctly, may be reduced but not entirely erased.
But before you decide what’s possible, the cooktop has to be absolutely clean. Only then can you begin the real work.
Step One: Clearing the Canvas
Think of this step the way a painter thinks of priming a canvas. You’re not doing anything glamorous yet; you’re laying the quiet groundwork. The goal is to make sure nothing on the surface will add new scratches while you’re trying to fix the old ones.
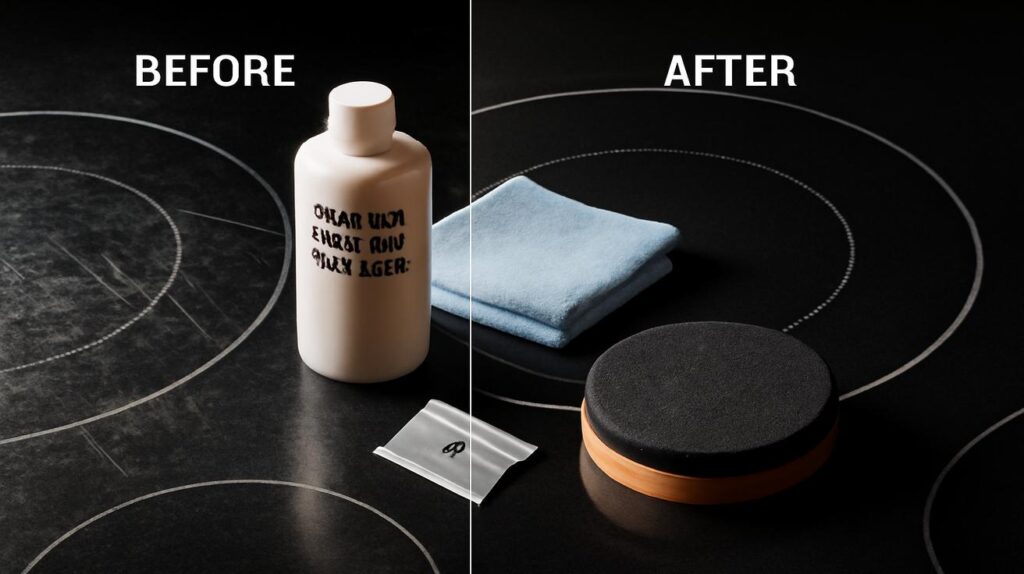
Start with a cool cooktop. This isn’t just about safety—some cleaners you use in the process should never be applied to a warm surface. Take a soft, non-abrasive cloth or sponge and a small bowl of warm water mixed with a drop or two of gentle dish soap. Glide the cloth slowly over the surface, giving attention to corners and around the burners where residues like to cling.
If you find stubborn, glassy spots—burnt sugar, melted plastic, or caramelized spills—reach for a dedicated cooktop scraper, the kind designed specifically for glass-ceramic. Hold it at a low angle, like you would a razor when shaving, and gently nudge the residue away. Never jab; never dig. You’re coaxing, not carving.
When you’re done, rinse with clean water and dry thoroughly with a microfiber cloth. Now, in the quiet of that freshly cleared surface, the scratches stand out. This is the moment where you decide how far you’ll go and what kind of polish you’ll use.
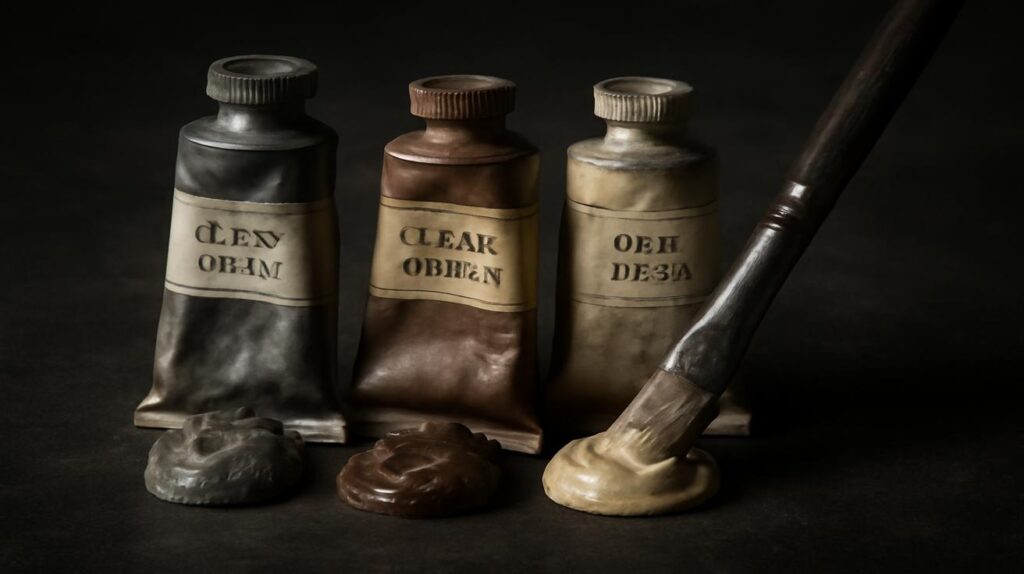
Step Two: Choosing Your Polishing Companion
At this point, you’re going to introduce a mild abrasive—a material just rough enough to smooth the microscopic edges of a scratch, but gentle enough not to dig new furrows into the glass. The secret is in the balance.
There are two common approaches homeowners lean toward:
- Specialized glass-ceramic cooktop cleaners or polishes, often creamy and slightly gritty, made specifically for this job.
- Homemade helpers like baking soda paste (a little water mixed with baking soda until it’s thick and spreadable).
Both can work for light to moderate surface scratches. The professional cleaners are formulated not just to polish, but also to leave the surface glossy and protected. Baking soda, on the other hand, is accessible, gentle, and familiar—a kind of old friend in kitchen care.
Whichever you choose, remember this: less is more. You’re not sanding a wooden table; you’re refining a delicate surface. Apply a small amount directly onto the scratch, about the size of a pea for tiny marks or a dime for longer, faint lines. Then, reach for your most faithful tool: a clean, soft microfiber cloth.
| Option | Best For | Pros | Watch Out For |
|---|---|---|---|
| Cooktop-Specific Polish | Regular maintenance, light scratches | Formulated for glass-ceramic, leaves gloss | Follow label; don’t overuse on deep damage |
| Baking Soda Paste | Minor surface marks, budget care | Cheap, gentle, widely available | Rinse thoroughly to avoid residue haze |
The right choice is often the one you’ll use patiently and correctly. This isn’t a race; it’s a quiet conversation between your hand and the glass.
Step Three: The Slow, Circular Ritual
Now comes the part that feels almost meditative. With your chosen cleaner in place and your microfiber cloth in hand, you’re ready to work on the scratch itself.
Press the cloth lightly against the polish and begin to move in small circles over the damaged area. There’s no rush. Imagine you’re buffing a treasured stone or smoothing the surface of a river rock in your palm. Let the tempo be unhurried and consistent. You’re not relying on brute strength but on repetition and time.
The motion does something subtle: it begins to level out the microscopic edges of the scratch, turning the sharp borders that catch the light into softer slopes that blend with the surrounding glass. As you circle and recircle, you might feel the faint resistance of the cleaner under the cloth. That’s the gentle abrasion at work.
Continue this circular motion for a minute or two, then stop. Wipe away the excess cleaner with a clean part of the cloth. Step back, angle your head, let the light play across the surface again. Has the scratch softened, grown fainter, lost its harsh white edge?
Often, it will take several passes. Apply a little more cleaner, return to the same ritual, and give it another round. Between each pass, remove the residue and check your progress. This is a process that favors patience over insistence. If, after a few careful rounds, the scratch barely changes, it may be deeper than the outermost layer. At that point, your goal shifts from erasing it entirely to reducing its visibility and preventing further harm.
In this slow polishing, something else happens, too: you begin to feel more connected to the object itself. The cooktop stops being a faceless appliance and becomes a surface you care for, one circular motion at a time.
Step Four: Revealing the Surface and Sealing the Story
When you’re satisfied—either because the scratch has nearly vanished or because you’ve softened it as much as seems wise—it’s time for the reveal.
Dampen another soft cloth with clean, warm water. Wipe the area thoroughly, making sure to remove all remnants of the cleaner or paste. This is important; residues left behind can dry into dull patches or attract dust and grime more quickly.
Next, dry the cooktop completely with a fresh microfiber cloth. Buff it gently, not as a correction now, but as a kind of finishing flourish. As you buff, the glass-ceramic responds with a familiar deep sheen, the kind that made you want this cooktop in the first place.
Look again at where the scratch used to be. For many small marks, what remains is barely visible, a soft shadow instead of a glaring line. Sometimes, you have to know where to look to see it at all. The cooktop’s surface appears smoother, cleaner, more continuous—like a calm lake after a rippling wind has settled.
This final step isn’t just about aesthetics. By removing straggling cleaners and polishing away residue, you’re also making it easier to keep the surface clean in the future. Grease and spills will have less to cling to. What you’ve done is restore not just the look of the cooktop, but something of its quiet dignity.
When Scratches Stay: Learning to Live with the Deeper Marks
Of course, not every story has a perfectly polished ending. Some scratches are simply too deep—gouged into the surface by heavy pans with rough bottoms, gritty particles caught under cookware, or accidental impacts. You can soften their edges, you can make them less glaring, but you might not be able to erase them.
This is where realism and safety step into the picture. A deep scratch isn’t just cosmetic; depending on its location and severity, it might affect how heat distributes or, in rare cases, signal a weak point in the glass-ceramic surface. If you notice cracks radiating from a scratch, chips around the edges, or any line that seems to deepen or lengthen over time, it may be time to step back and consider professional advice.
But for many people, something else happens instead: the scratch becomes part of the landscape. It’s not unlike the first scratch on a beloved wooden table, the first nick on a cutting board. Imperfections carry memory. That faint line near the front burner? Maybe it’s from the night you tried a new recipe and stirred a little too enthusiastically. That cluster of hairline marks? Evidence of countless weekday dinners that kept everyone fed and warm.
The goal, then, is twofold: care for the surface enough that it stays safe and functional, and accept that a cooktop is meant to be used. You cook on it, after all; it’s not meant to live its life as a showroom model. Every gentle repair and polished circle is not just about restoring shine—it’s about continuing the relationship between your kitchen and the meals that happen there.
Keeping the Surface Smooth: A Quiet Daily Practice
Once you know how to ease away scratches, you begin to see how to prevent new ones. It doesn’t require rigid rules—just small habits that become second nature.
- Lift, don’t drag. Whenever possible, lift pots and pans instead of sliding them across the surface. That tiny grain of salt or sugar underneath can be sharper than it looks.
- Check pan bottoms. Before you set a pot down, take a quick glance at its base. Rough, warped, or dirty bottoms are scratch-makers waiting to happen.
- Use soft tools. Skip steel wool, abrasive pads, and harsh scrapers not made for glass-ceramic. Microfiber cloths, soft sponges, and cooktop-safe scrapers will be your best allies.
- Wipe once things cool. Spills are easier to remove when they haven’t baked on, but always wait until the surface is cool enough to touch safely.
- Give it a gentle polish now and then. A periodic rub with a specialized cooktop cleaner keeps the surface glossy and slightly less vulnerable to visible marks.
These aren’t burdensome rules, just quiet rituals. Over time, they become the way you move in your kitchen, the way you protect that smooth, dark glass while still giving it a rich, busy life.
Faq
Can all scratches on a glass-ceramic cooktop be removed?
No. Light, surface-level scratches can often be significantly reduced or nearly erased with gentle polishing. Deep scratches that you can clearly feel with a fingertip are usually permanent, though you may still be able to soften their appearance.
Is baking soda safe for my glass-ceramic cooktop?
Used correctly, yes. Baking soda is a mild abrasive and can help polish out superficial marks. Always mix it with water into a soft paste, apply gently with a microfiber cloth, and rinse thoroughly afterward to prevent a dull residue.
Can I use regular glass cleaner on my cooktop?
Standard glass cleaner can help with streaks or light soil, but it won’t polish scratches. Many also contain ingredients that may leave films when heated. For scratch removal and deep cleaning, use cooktop-specific products or mild homemade options like baking soda paste.
Will polishing my cooktop too often damage it?
Excessive or overly aggressive polishing, especially with strong abrasives, can wear at the surface over time. Occasional, gentle polishing using products designed for glass-ceramic is safe; the key is a light touch and not treating every small mark like an emergency.
How do I know if a scratch is a safety concern?
Look for cracks that spread outward, chips around the edge of the scratch, or lines that seem to deepen, lengthen, or change with use. If you see any of these, or if the scratch is very deep near an active heating zone, it’s wise to consult the manufacturer or a professional technician.
Can I cook over an area that has light scratches?
Yes. Light cosmetic scratches usually don’t affect performance or safety. As long as there are no cracks, chips, or signs of structural damage, you can continue to use the cooktop over that area.
What’s the most important thing to avoid to prevent new scratches?
Avoid dragging anything rough or dirty across the surface. That includes heavy pots, pans with gritty bottoms, and abrasive cleaning tools like steel wool. Lifting cookware and using soft cloths are simple habits that make the biggest difference.
Are specialized cooktop polishes really worth it?
For many people, yes. They’re formulated for glass-ceramic surfaces, helping to clean, polish, and sometimes protect in a single step. While you can use DIY methods for minor issues, a dedicated polish can make routine maintenance smoother and give a more consistent shine.